Baking Journal
How to proof bread dough in a cold kitchen
Choose a steady place for dough to rise, measure the temperature, and judge its progress without turning a cold-kitchen delay into an overheated loaf.
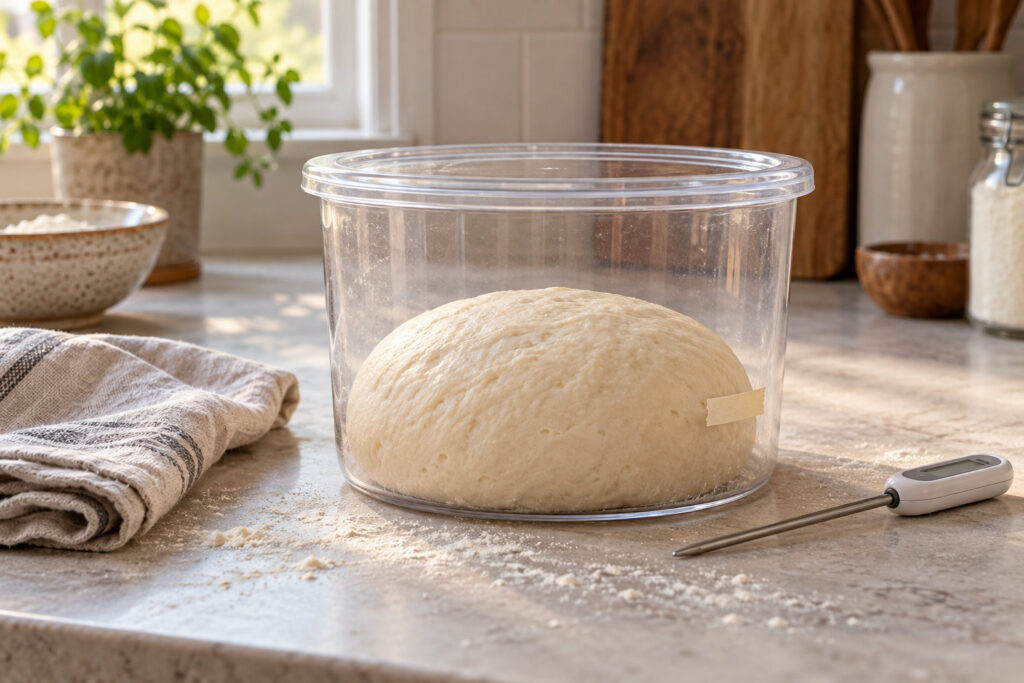
Illustration is AI-generated and is not a photograph of a BakeChronicle kitchen test.
In a cold kitchen, bread dough may need more time to rise. Start by keeping it covered and finding a steady, gently warm place. Measure the conditions before adding heat, and judge progress using the signs in your recipe. A delay alone does not establish that the yeast is dead.
This guide concerns ordinary wheat-based yeast dough. Sourdough, laminated dough, and enriched breads can have different schedules and temperature needs. Use the formula’s instructions when they differ from general advice.
Identify which rise you are watching
The first rise takes place after mixing and kneading, before shaping. Bakers often call it bulk fermentation. The final proof happens after the dough has been shaped. King Arthur explains that the word proofing is commonly used for both stages, although it technically refers to the second.[1]
Read each rise instruction separately. A first-rise instruction to double does not mean the shaped loaf must also double. A pan loaf might have a specified height above the rim, while another bread may have a different readiness cue. Read the instructions for the stage you are actually at.
Before moving the bowl, note the time, starting volume, and room temperature. A straight-sided food-safe container makes volume changes easier to see. Mark the starting level on the outside with tape, leaving enough space for the dough to expand.
Cover the dough and check its temperature
A cover helps prevent the surface drying out. King Arthur recommends a container that retains moisture and explains why a loose cotton towel can let moisture escape.[2] Use a lid or a suitable cover with room for expansion; do not seal a rigid container in a way that prevents it venting safely.
Measure the dough if you have a clean food thermometer, and measure the area where you intend to place it. The room, the mixed dough, and the water used for mixing are different temperatures. Warm mixing water does not tell you what the finished dough temperature will be.
For many ordinary breads, King Arthur describes a gently warm proofing environment of about 72 to 78°F, roughly 22 to 26°C.[1] That range is a starting reference for ordinary yeast breads. A recipe specifying a cooler fermentation should stay on its intended schedule.
Choose a place you can monitor
A draft-free part of the room may be enough if you can allow extra time. Avoid resting the bowl directly against a radiator, heating element, or other source of concentrated heat. The goal is a stable environment around the dough.
An oven that is switched off can shelter a covered bowl. Some oven lights provide enough warmth to change the temperature significantly; others do very little. King Arthur’s discussion of rising locations explicitly notes that the result varies between ovens and kitchens.[2] Measure yours instead of copying another baker’s warming time.
- Check that the oven is off and cool enough before putting any dough inside.
- Place a thermometer where the covered bowl will sit and check the temperature.
- If using the light for warmth, watch the reading and switch the light off if the space becomes too warm.
- Leave a visible reminder that dough is inside so nobody preheats the oven with it in place.
- Remove the bowl and any thermometer not intended for baking before preheating for the loaf.
Do not assume an appliance’s proof setting is suitable for every dough. Read its instructions and compare its temperature with the recipe. A hotter setting can speed fermentation beyond the schedule you intended.
Watch the dough as well as the clock
Use the recipe’s volume, appearance, and handling cues. A time such as one hour is an estimate tied to the recipe’s conditions. If your dough is cooler, copying that time can leave it short of the described rise.
For example, suppose the recipe asks for the first rise to double, but the marked level has only moved a little when the suggested time expires. Keep it covered, check the actual temperature, and look again later. A missed time estimate alone is insufficient reason to add more yeast.
King Arthur’s dough-temperature comparison shows that changing the mixed dough temperature changes the pace and outcome of fermentation.[3] Use gentle adjustments you can measure. Pouring hot water over an already mixed dough would also alter its hydration and cannot be treated as a simple temperature correction.
If there is still no visible progress
Review the yeast type, date, storage, and mixing instructions. Quaker identifies old or poorly stored yeast and unsuitable liquid temperatures as possible causes of slow or absent rising.[4] Follow the yeast manufacturer’s directions, since active dry and instant products are not always handled identically.
Also check the recipe measurements and whether you made substitutions. Our flour-measuring guide can help you compare what went into the bowl with the written formula. If you are making a chemically raised quick bread, our explanation of baking powder and baking soda concerns a different raising system; yeast-proofing advice does not apply to it.
Record the temperature, elapsed time, and observed rise so you can adjust the next attempt. Keep the recipe’s handling and food-safety instructions, especially for dough containing perishable ingredients. Do not taste raw dough to judge fermentation; raw flour mixtures should be cooked before eating.[5]