Baking Journal
How to tell when a cake is done
Use the recipe’s timing, the centre of the cake, and several doneness clues together so a browned top does not hide wet batter.
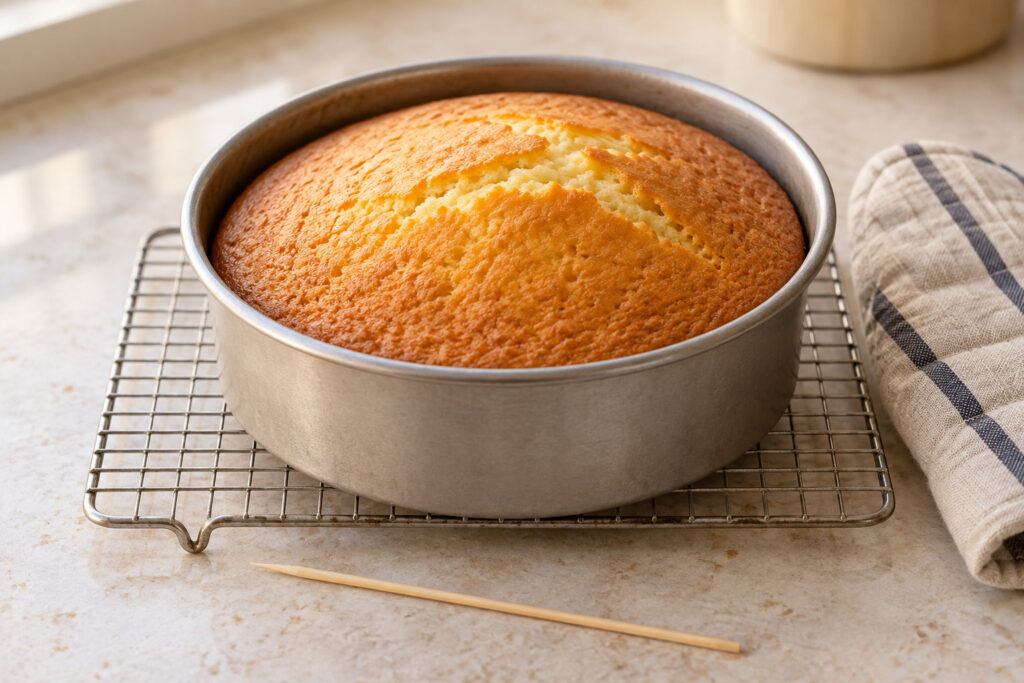
Illustration is AI-generated and is not a photograph of a BakeChronicle kitchen test.
A cake is ready when its centre has set to the texture the recipe describes. A browned top or an expired timer can prompt you to check, but neither tells you what is happening inside. For an ordinary butter or sponge-style cake, combine appearance, a centre test, and a gentle check of the surface.
Start with the recipe’s own description of doneness. Cheesecake, molten chocolate cake, brownies, and some very moist cakes have different intended textures. Use the doneness instructions written for those styles.
Prepare the test before opening the oven
Have oven gloves, a clean thin skewer or cake tester, and a cooling rack ready. Check the recipe’s earliest suggested baking time. Use the oven window for an initial look when possible; opening the door repeatedly makes the baking conditions less consistent.
Confirm that you used the stated pan size and oven mode. A different pan or a deeper layer of batter can change how the centre bakes. Write down a substitution so that you can distinguish a timing issue from a different setup next time.
If your cakes routinely brown outside while staying raw inside, check the actual oven temperature with an oven thermometer. Nigella’s baking advice identifies an oven running too hot as a likely explanation for that pattern.[1] Check against your recipe’s temperature rather than adopting a temperature from an unrelated cake.
Read the surface, then check the centre
For a pale cake, compare its colour with the recipe’s description. For chocolate cake, browning can be harder to judge, so the texture and finish of the surface are more useful. King Arthur recommends reading several signals together, including the edges, surface, tester, and springiness.[2]
A small gap at the edge can be useful for some cakes, but it is not a universal requirement. Betty Crocker notes that cakes relying on an ungreased pan for support cannot be assessed in exactly the same way.[3] Do not keep baking solely to force a visible gap around a cake that is meant to cling to its tin.
- Look for the surface and edge changes described in the recipe. If the centre is visibly fluid, continue baking before testing it.
- When the cake looks close, open the oven carefully and protect your hands and arms from the hot pan and rack.
- Insert a clean tester into the centre of the cake, where the batter is usually slowest to set. Follow any recipe-specific guidance about where to test.
- Withdraw it and examine what is attached. Wet batter means the cake needs more baking.
- If appropriate for the cake, gently touch the centre. A set cake should recover from a light touch; a lasting dent suggests it needs more time.
These checks work together; none replaces the recipe’s instructions.[3] Keep the check brief and close the door while the cake continues baking. Nigella suggests another five minutes when a sponge cake still leaves raw or partly cooked batter on a skewer, followed by another test.[1] Very small cakes and unusual formulas may need a different interval, so continue to follow the recipe.
Understand what is on the tester
Wet, shiny batter is different from a few cooked crumbs. Some recipes explicitly allow moist crumbs; others ask for a clean tester. Match the result to the recipe’s wording rather than insisting that every cake leave the skewer completely dry.
Chocolate chips, fruit, or a filling can complicate the test. If a skewer hits a chocolate piece, try another nearby point in the cake crumb. A single dark smear does not tell you whether the surrounding batter has set. Avoid repeatedly probing the exact same hole.
For example, imagine a vanilla layer cake whose edges look ready but whose centre leaves liquid batter on the skewer. Keep baking and recheck the middle. Frosting later will not correct an underbaked centre. Conversely, a set centre and the texture specified by the recipe give you more useful evidence than waiting for an arbitrarily darker crust.
Use temperature as supporting information
There is no single internal temperature that proves every cake is done. Kansas State Research and Extension lists different suggested temperatures for layer cakes, jelly roll cakes, and Bundt cakes, and stresses the need for visual clues as well.[4]
King Arthur also cautions that cake temperatures vary with the formula.[2] If your recipe gives a tested temperature target, use it alongside its other instructions. If it gives none, avoid turning a general number from another recipe into a pass-or-fail rule.
After the cake comes out
Set the pan on a rack and follow the recipe’s cooling and unmoulding instructions. Fragile cakes can be damaged if handled too soon. Record the actual baking time and your observations while you still remember them.
If the texture repeatedly disappoints, review how you measured the flour and check that you used the intended raising agent. Those checks answer different questions from whether a particular cake has finished baking. Do not taste raw batter as part of the test; the FDA advises against consuming uncooked flour mixtures.[5]