Baking Journal
How to Tell When Sourdough Bulk Fermentation Is Done
A baker’s guide to judging sourdough bulk fermentation by signs in the dough rather than relying on a fixed timer.
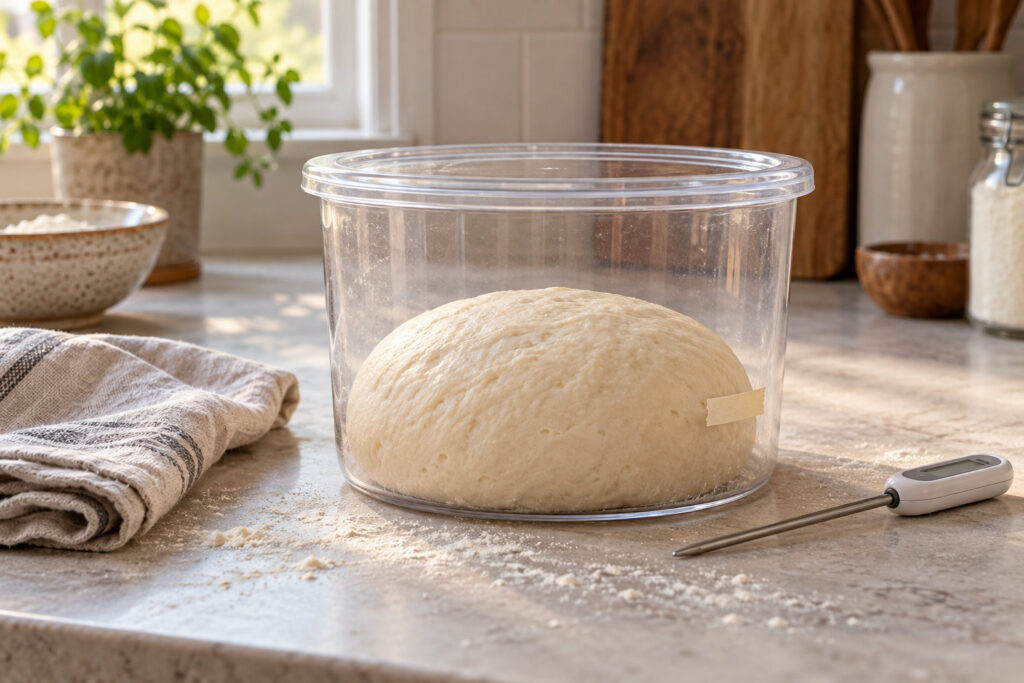
Bulk fermentation is the first rise after mixing, when sourdough develops gas, strength, and flavor as one mass. Ending it at the right point can feel harder than following a clock, because dough temperature, starter activity, flour, and hydration all change the pace. Use the recipe’s timing as a guide, then check the dough itself.
Look for several signs together
- Volume gain: The dough should look noticeably larger. The target varies by formula; some recipes call for a substantial rise without a full doubling.
- A smoother surface: A rough, shaggy dough often becomes more cohesive as gluten develops and fermentation progresses.
- Bubbles: Look for gas pockets along the sides or just under the surface, especially in a clear container.
- Elasticity: With a damp hand, gently lift one edge. Ready dough should stretch and resist somewhat rather than tearing immediately or feeling completely slack.
- Aeration: Give the bowl a gentle shake. Dough with gas in it may jiggle softly instead of sitting as a dense lump.
No single clue is definitive. A dough may show fewer visible bubbles in a dark bowl, and a high-hydration formula can feel looser than a stiff dough even when fermentation is on track.
Set up the dough so you can read it
At the start of bulk fermentation, transfer the dough to a straight-sided container and mark its starting height with tape or a rubber band. This makes volume change easier to judge than using a wide mixing bowl. Keep the container covered so the surface does not dry out. If the recipe calls for folds, use them at the stated intervals; each check is also a chance to feel whether the dough is gaining strength.
Use time as a range, not a promise
A recipe’s fermentation time assumes particular conditions. A warm kitchen and lively starter can speed the rise; a cool room or recently fed starter can slow it. If the dough looks underdeveloped when the listed time ends, give it more time and check again. If it is already airy, elastic, and expanded well before then, move to shaping rather than waiting for the clock.
For a simple comparison, take a photo of the dough at the beginning and after each fold. Changes are easier to see side by side than from memory. Keep notes about room temperature and total time so the next bake starts with a more realistic estimate.
What under-fermented dough looks and feels like
Dough that needs more bulk time may remain dense, tight, and rough. It may show little volume gain and few bubbles. When shaped, it can feel resistant without the airy quality that comes from fermentation. Continue the bulk rise in a covered container and check periodically. Avoid adding extra flour just because the dough feels sticky; that changes the formula and can make the loaf heavy.
What over-fermented dough looks and feels like
Over-fermented dough can lose strength, spread instead of holding a rounded shape, and feel very slack. Large surface bubbles or a sinking center may also be clues. Handle it gently and shape promptly; if it cannot hold its form, bake it in a loaf pan or use it for a flatter bread rather than forcing a tall boule. The next time, end bulk earlier or ferment at a cooler temperature.
A simple checkpoint routine
- At mixing, mark the dough’s starting level and note the room temperature.
- Follow the recipe’s fold schedule, keeping the dough covered between folds.
- Near the expected end, inspect the volume, surface, bubbles, and elasticity.
- Gently jiggle the container and compare with how the dough looked earlier.
- When multiple signs point to an airy, stronger dough, move on to preshaping and shaping.
Bulk fermentation is a skill you build with repeat bakes. Follow one formula closely while learning to read its timing, then keep the same container and observation notes for consistency. For the next rise after shaping, see our Bread guides and the recipe’s proofing instructions.